How to resolve incorrect boot time in Windows 11
If your Windows 11 PC displays the incorrect time or date upon booting (especially after being powered off), it can cause issues with apps, security certificates, and scheduling. Common causes include failed automatic time synchronization, dual-boot conflicts with Linux, a failing CMOS battery, or service misconfigurations. This guide provides step-by-step solutions, starting with the simplest.
Important: Ensure your PC is connected to the internet for time sync features. Back up important data before advanced steps.
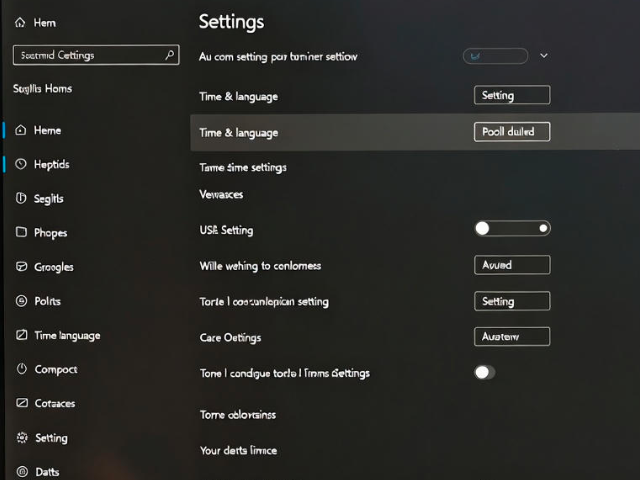
Step 1: Open Date & Time Settings
Press Windows key + I to open Settings, then select Time & language from the left sidebar.
Windows 11/10] Change System Language | Official Support | ASUS Global
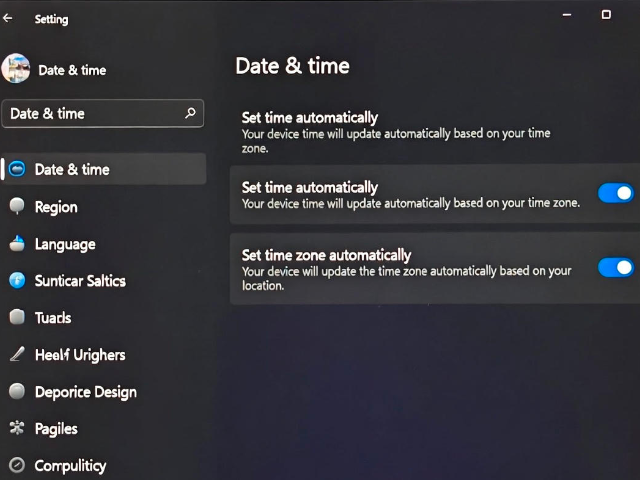
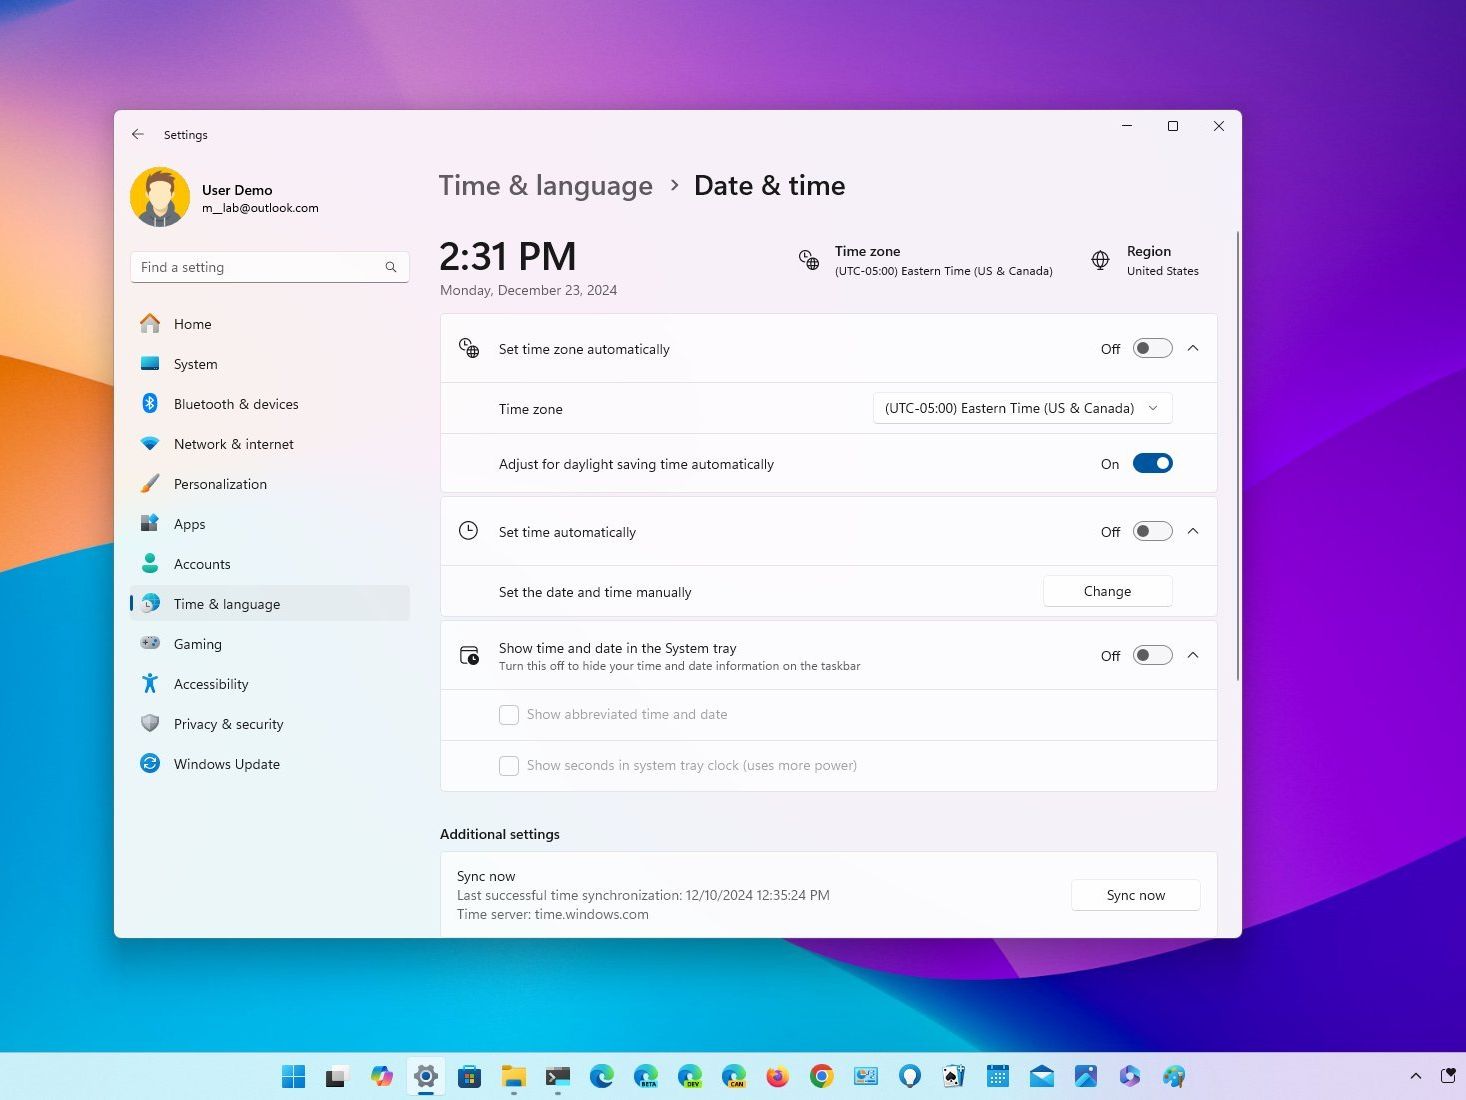
Step 2: Enable Automatic Time Sync
In the Date & time section, turn on Set time automatically and Set time zone automatically. This allows Windows to sync with internet time servers.
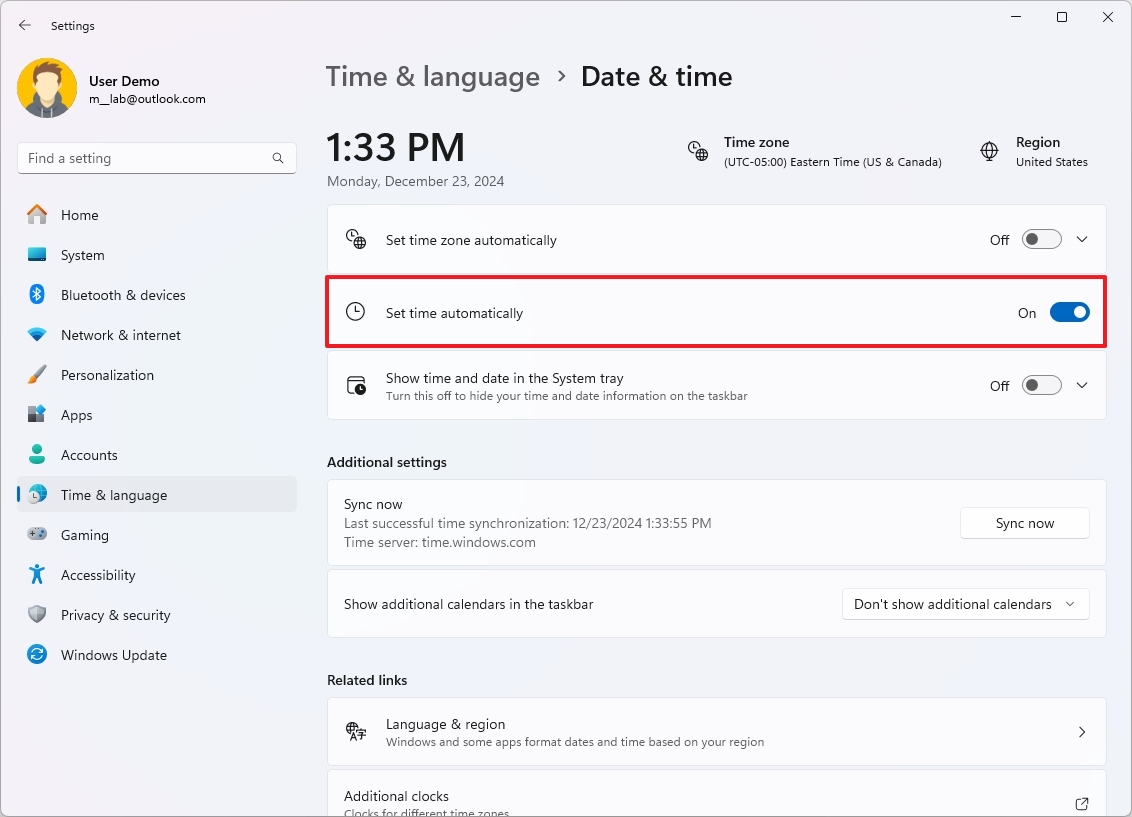
Step 3: Manually Sync the Clock
Scroll down and click Sync now under Additional settings. This forces an immediate synchronization with Microsoft's time server (time.windows.com).
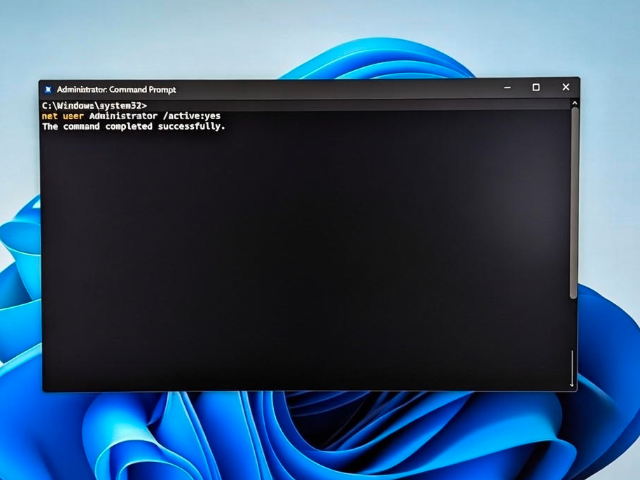
Step 4: Restart the Windows Time Service
If sync fails repeatedly:
- Press Windows key + R, type services.msc, and press Enter.
- Find Windows Time (or W32Time), right-click it, select Restart. Set Startup type to Automatic if needed.
How to Fix Time Synchronization Failed Error in Windows 11
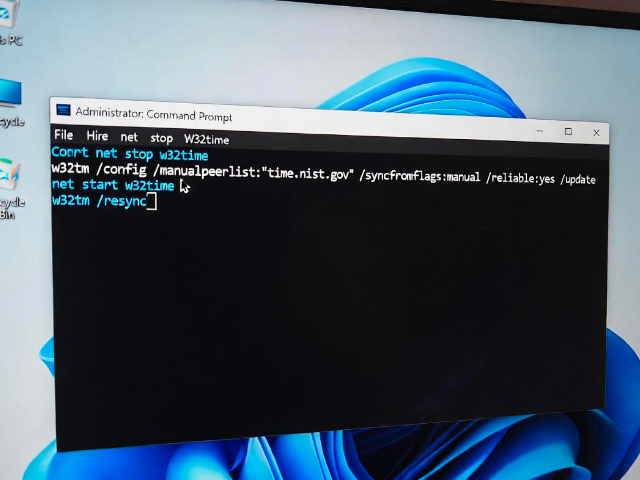
Step 5: Change the Time Server (Advanced)
If the default server is unreliable:
- Open Command Prompt as Administrator.
- Run these commands:text
net stop w32time w32tm /config /manualpeerlist:"time.nist.gov" /syncfromflags:manual /reliable:yes /update net start w32time w32tm /resync
This switches to a more reliable NIST server and forces resync.
Step 6: Check for Dual-Boot Issues (If You Use Linux)
Windows and Linux handle hardware clock differently (local vs. UTC). Add a registry key to make Windows use UTC:
- Open Registry Editor (regedit as admin).
- Navigate to HKEY_LOCAL_MACHINE\SYSTEM\CurrentControlSet\Control\TimeZoneInformation.
- Create a new QWORD (64-bit) value named RealTimeIsUniversal and set it to 1. Restart your PC.
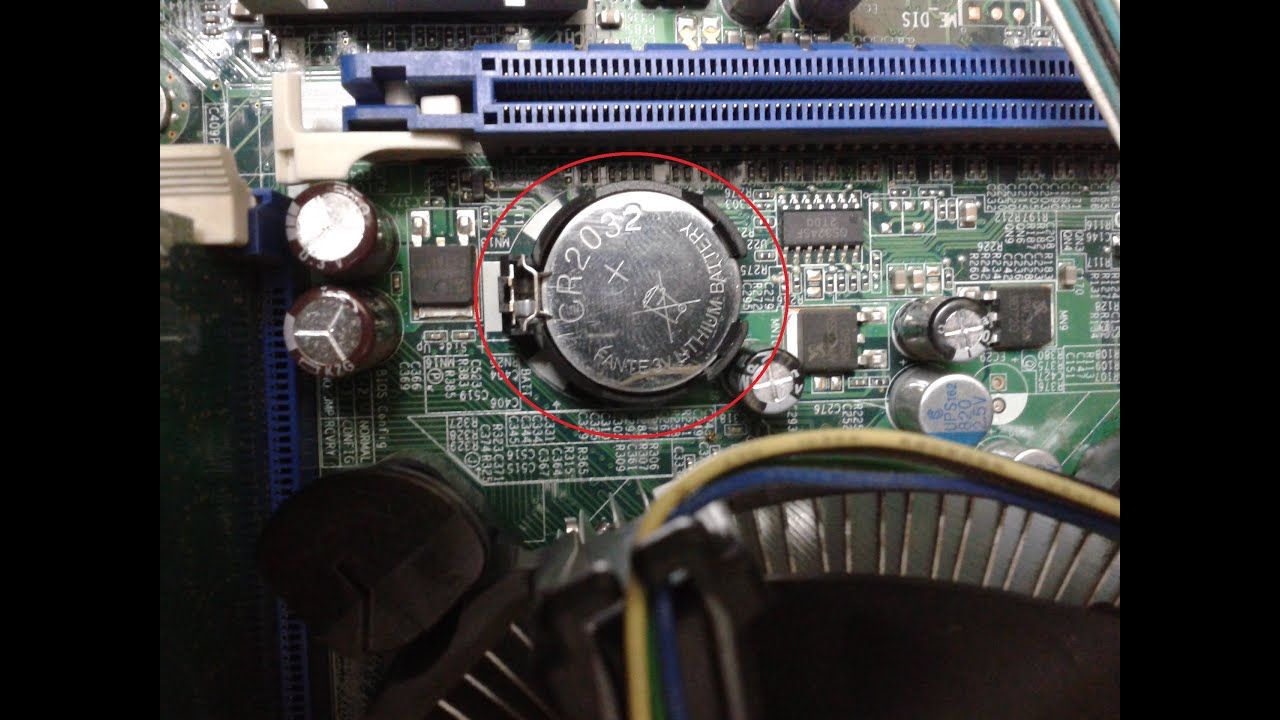
Step 7: Replace the CMOS Battery (Hardware Fix)
If time resets drastically when powered off, the motherboard's CMOS battery may be dead (common in older PCs).
- Power off and unplug your PC/desktop.
- Open the case and locate the coin-shaped battery (usually CR2032) on the motherboard.
- Replace it with a new one.

After applying these fixes, restart and check the clock. Most users resolve the issue with Steps 1-3. If problems persist, update Windows or scan for malware. For laptops, contact manufacturer support if under warranty.